
2 rooms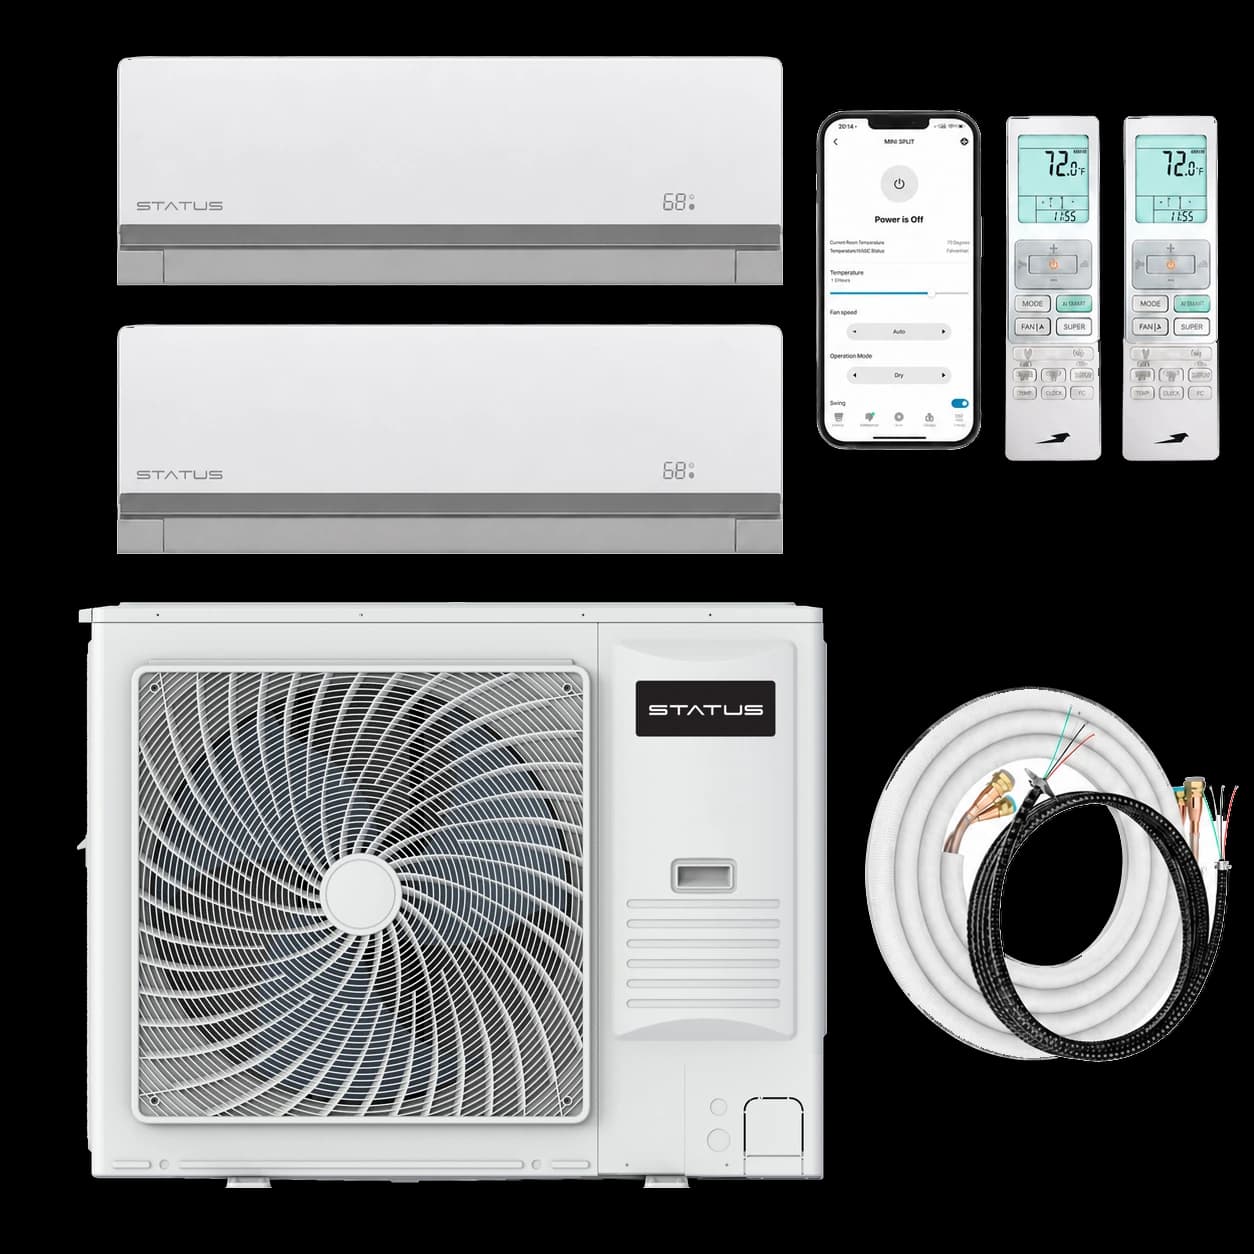
Status DIY
18,000 BTU (9K + 9K)
18,000 BTU outdoor unit23 SEER2 · up to ~800 sq ft
$2,517$3,531
Heat pumps for two or three rooms, with pre-charged line sets: no vacuum pump, no gauges, no HVAC contractor.
Our line sets arrive pre-charged and sealed, so there’s no vacuum pump and no gauges. You’ll need a drill with a 3″ hole saw, a level, adjustable wrenches, a stud finder and a screwdriver.
Real HVAC techs answer 24/7, free, for as long as you own the mini split.
On a typical multi-zone job, the equipment is under half the bill. The rest is mostly labor. And nobody here works on commission.
The one part to plan: a dedicated 230 V circuit and an outdoor disconnect. Have a licensed electrician wire it, as the manual and most local codes require, and follow your local permit rules. It’s usually a short visit.
Can I really install this myself?Each room gets its own indoor unit and temperature, and one outdoor unit runs them all. Control each room from the remote, the ConnectLife app, Alexa or Google Assistant.
Two indoor units on one 18K or 27K outdoor unit.
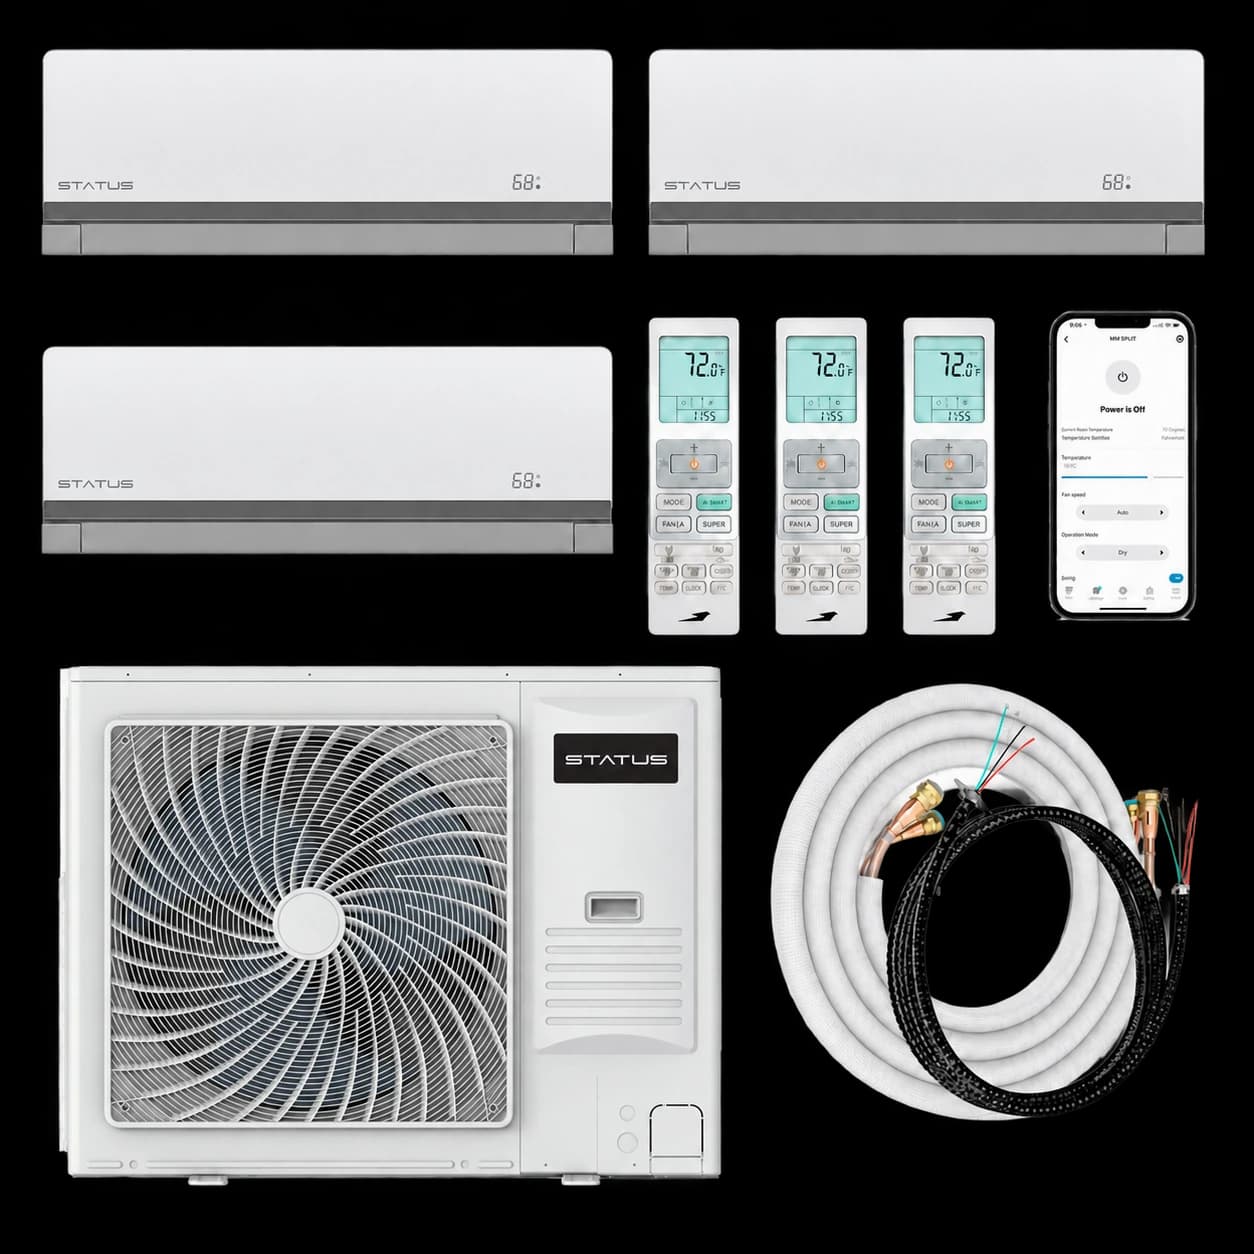
Three indoor units on one 27K outdoor unit.
Pick a size for each room and we’ll show the systems that match.
Rather talk it through?Room size is a starting point. Insulation, climate, ceiling height, and sun exposure also affect sizing.
Choose the size of each space you want to heat and cool.
Shipping expected to begin by November 1, 2026Then 4–10 days to your curb
Delivery detailsStatus DIY
Status DIY
Status DIY
Status DIY
27K outdoor unit: room to add a third zone later, and more heating on the coldest nights.
Status DIY
27K outdoor unit: room to add a third zone later, and more heating on the coldest nights.
Status DIY
27K outdoor unit: room to add a third zone later, and more heating on the coldest nights.
Status DIY
27K outdoor unit: the size that runs the 18K indoor unit for a large room.
Status DIY
27K outdoor unit: the size that runs the 18K indoor unit for a large room.
Status DIY
Status DIY
Status DIY
Status DIY
Status DIY
Quick Connect fittings join the pre-charged line set to the unit. Follow the installation manual for the complete procedure.
Four steps from planning to powering up. Explore the full guide before you begin, including electrical requirements.
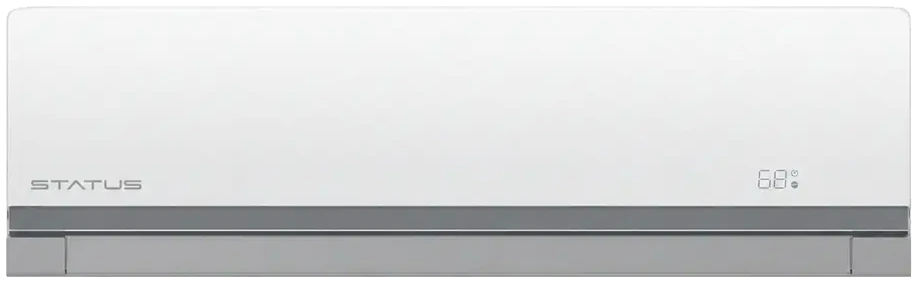
Hang the indoor units. Set the outdoor unit on a suitable pad or bracket.
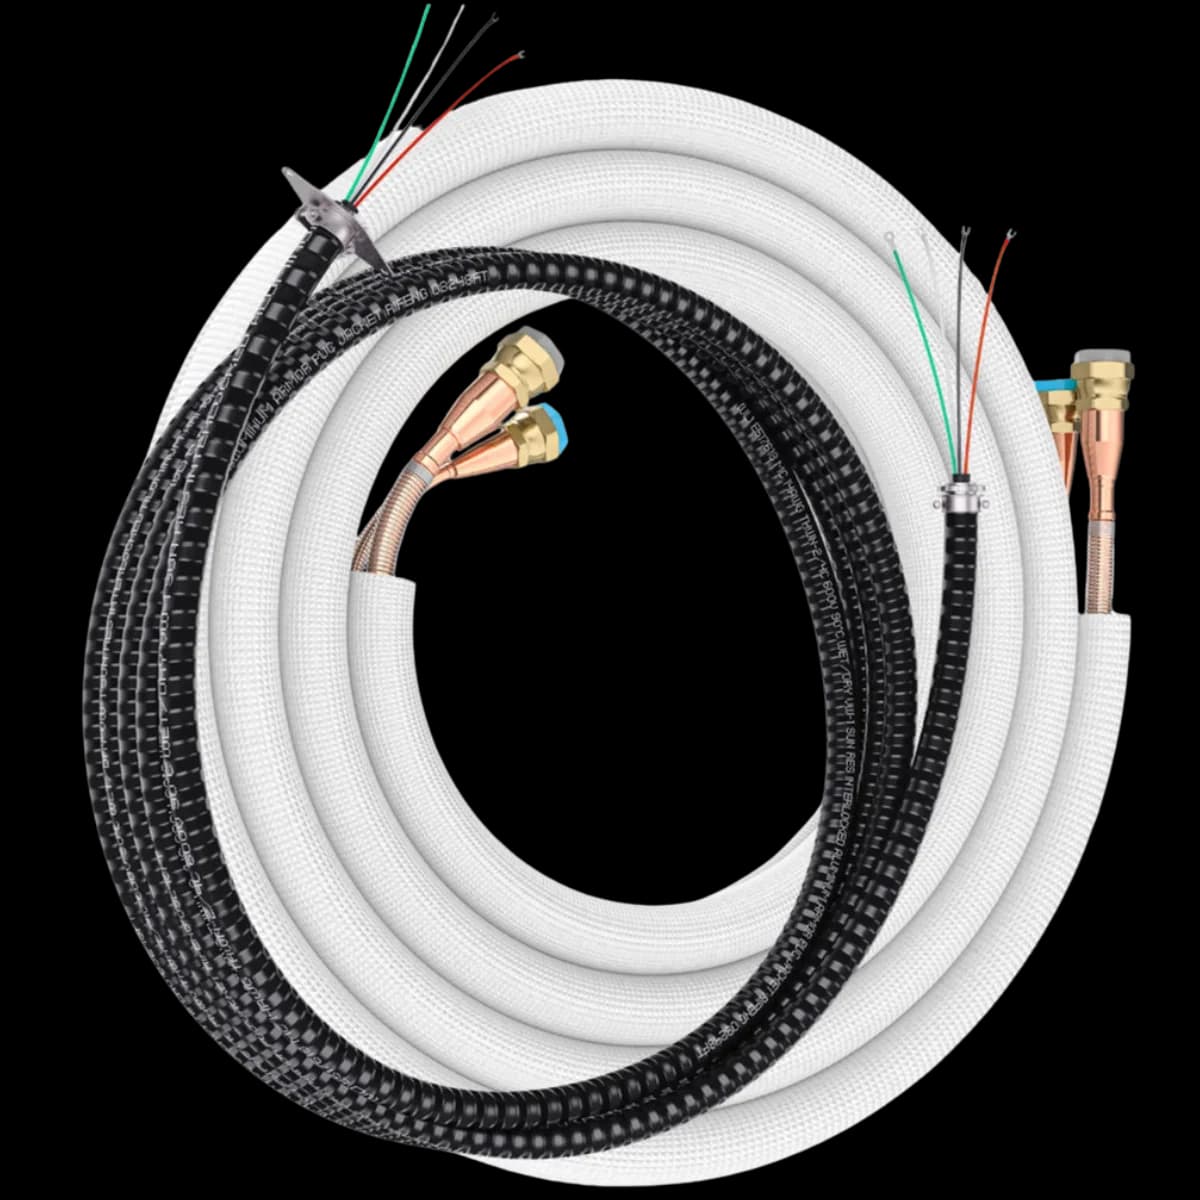
Run a pre-charged line set from each room to the outdoor unit.
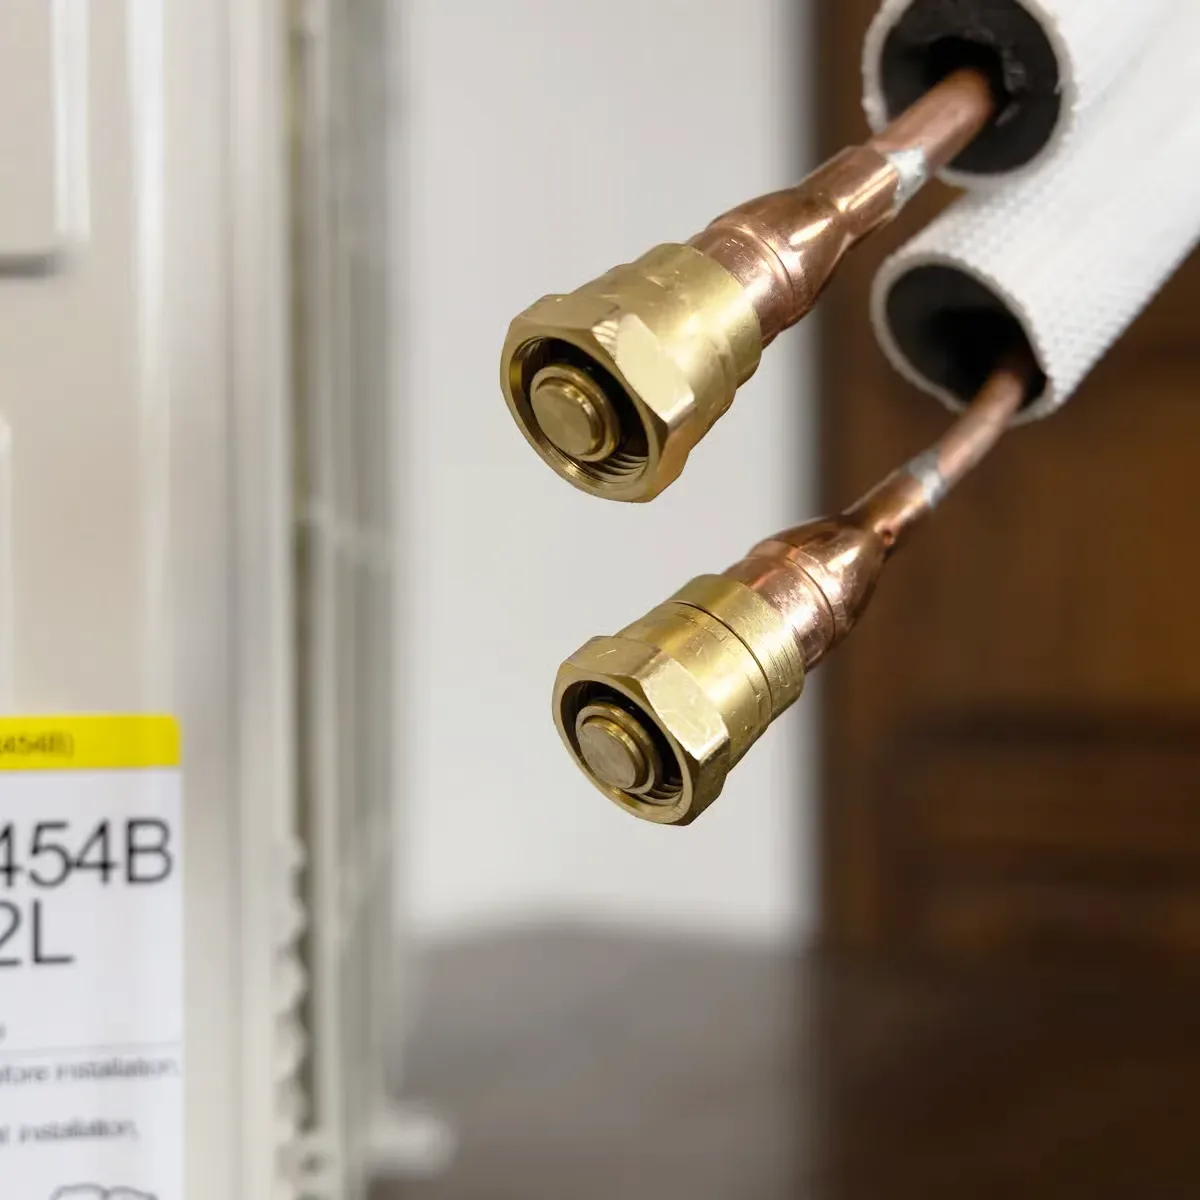
Connect the sealed fittings following the installation instructions.
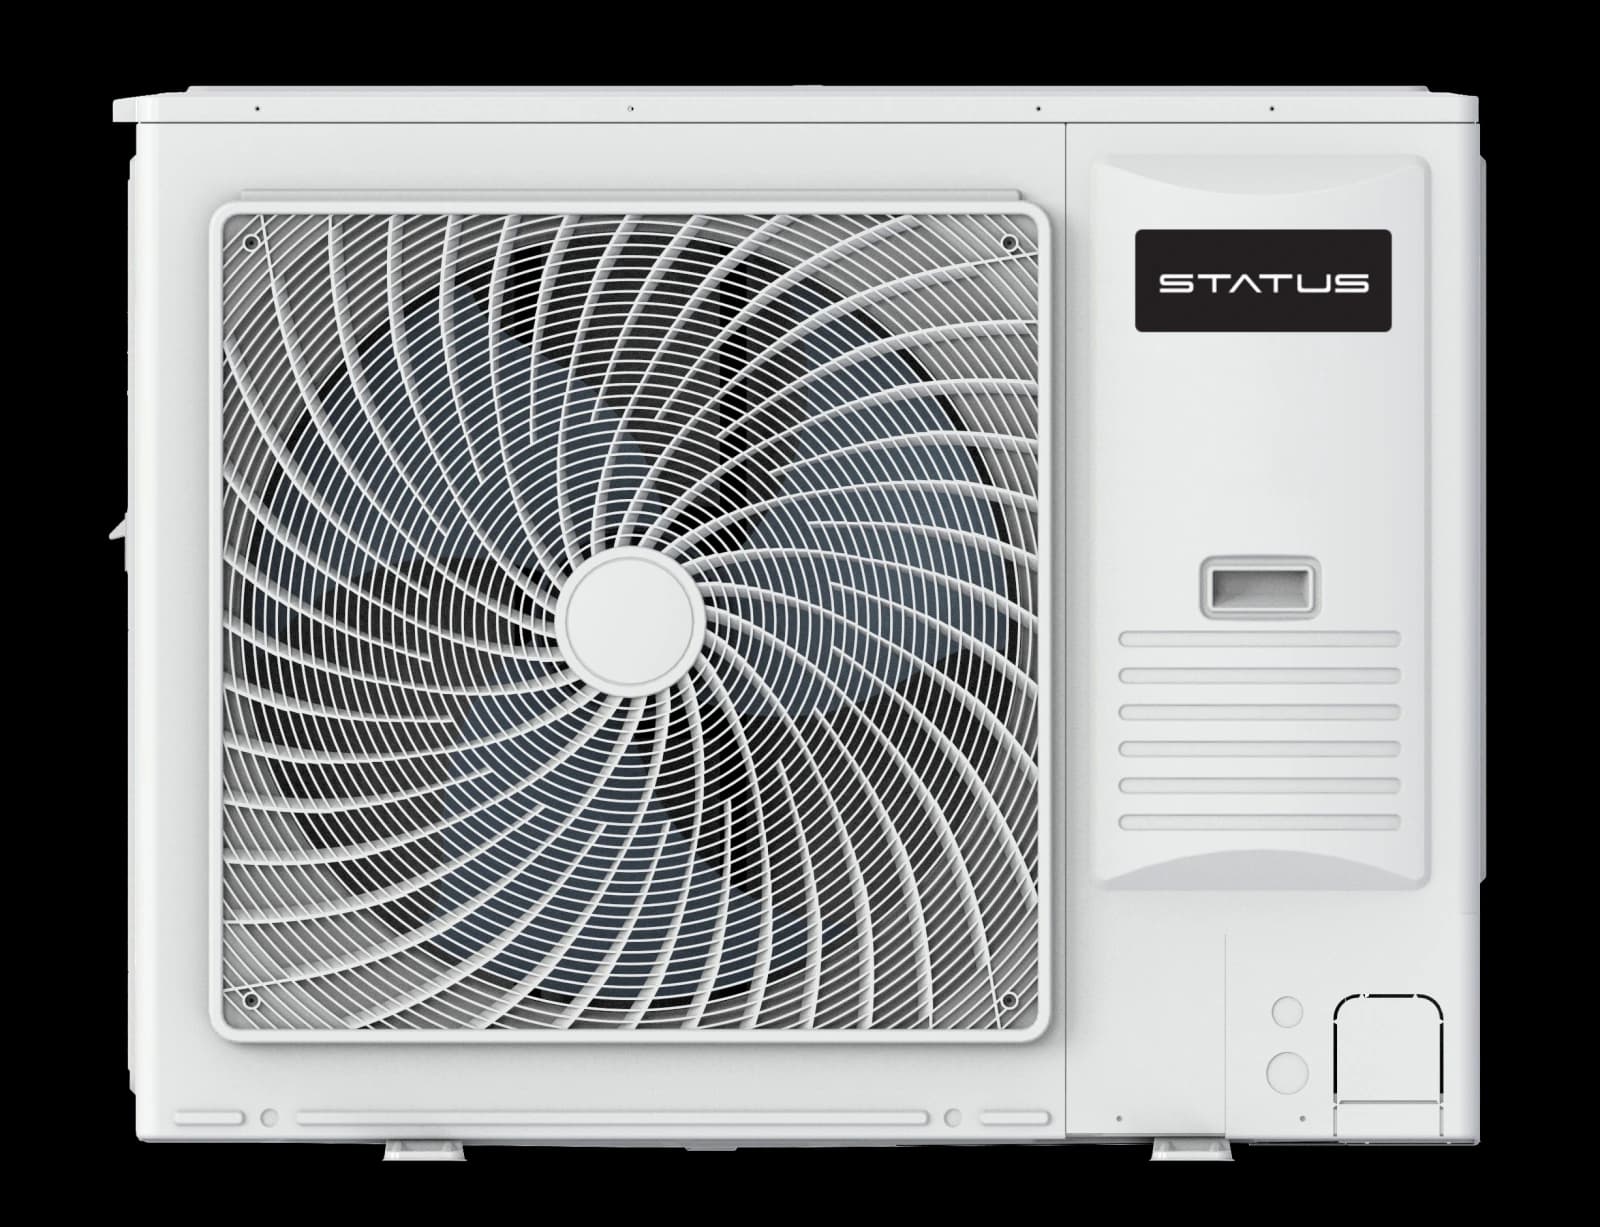
Have a licensed electrician run the dedicated 230 V circuit and outdoor disconnect, as the manual and most local codes require. Then switch it on.
Read the full walkthrough, or call a tech before you buy. We answer 24/7.
Planning, installation, and what happens after you order.
Visit the help centerYes. The line sets come pre-charged with sealed quick-connect fittings, so there’s no refrigerant work: no vacuum pump, no gauges. The one part to plan is the dedicated 230 V circuit and outdoor disconnect: a licensed electrician should wire that, as the manual and most local codes require, and your local permit rules apply. Installing it yourself per the instructions keeps the 8-year limited warranty.
Match each room to an indoor unit: small rooms (up to 400 sq ft) take a 9K, medium (400–600) a 12K and large (600–800) an 18K, at standard ceilings. The finder above does it in a minute, or call and we’ll size it from a floor plan.
Charged in full at checkout — the total is shown before you place the pre-order.
Cancel anytime before it ships for a full refund of everything you’ve paid. Damaged or wrong deliveries are replaced free. After delivery, uninstalled equipment in resalable condition can come back within 30 days, less a 15% restocking fee, with return freight at your cost. Once it’s installed, the warranty takes over.